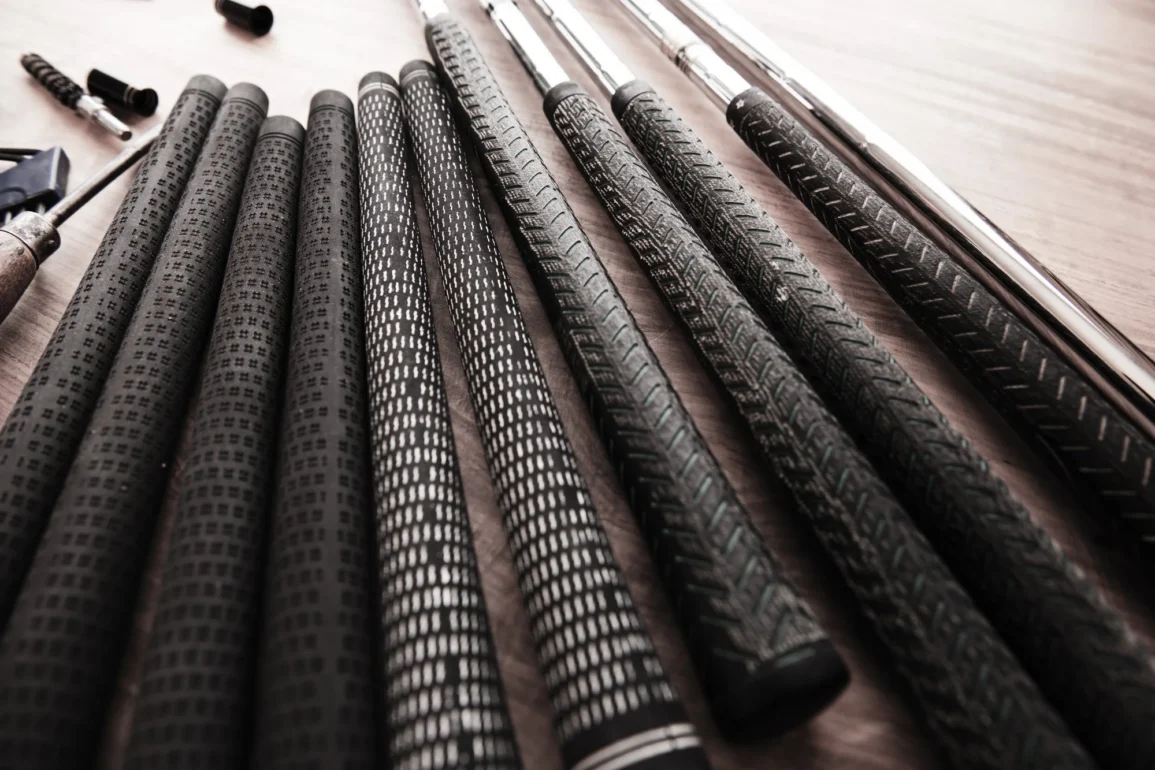
Changing the grip on a golf club can be a simple and cost-effective way to improve your golf game. It is also a skill that can be learned and done at home with a few tools and some basic knowledge. Here is a step-by-step guide on how to change the grip on a golf club at home.
Step 1: Gather the necessary tools To change the grip on a golf club, you will need a few basic tools. These include a utility knife or grip removal tool, double-sided grip tape, grip solvent, and a new golf grip.
Step 2: Remove the old grip Using a utility knife or grip removal tool, cut or peel off the old grip from the golf club. Be careful not to damage the shaft while doing so. Once the old grip is removed, clean the shaft with a cloth and some grip solvent.
Step 3: Apply grip tape Wrap the double-sided grip tape around the shaft of the golf club, starting from the bottom and working your way up to the top. Make sure to overlap the tape slightly as you go, and leave a small amount of tape sticking out at the top.
Step 4: Apply grip solvent Pour a small amount of grip solvent into the new grip, and swirl it around to coat the inside of the grip. Pour the excess solvent over the tape on the club shaft.
Step 5: Slide on the new grip Carefully slide the new grip onto the club shaft, making sure it is aligned correctly. Push the grip down onto the shaft until it is fully seated.
Step 6: Let it dry Allow the grip to dry for at least a few hours before using the club. This will give the grip tape and solvent time to set and bond the grip to the club shaft.
In conclusion, changing the grip on a golf club is a simple process that can be done at home with the right tools and some basic knowledge. By following these steps, you can improve your golf game and save money by not having to pay a professional to change your grips for you.


